
ITH Bean Stitch Bunting Tutorial
ITH Bean Stitch Bunting Tutorial

This tutorial provides instructions for in-the-hoop bean stitch bunting designs purchased from Hug A Bug Applique. Bunting pieces shown use fusible fleece but you can use foam instead.
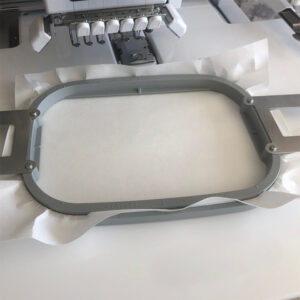
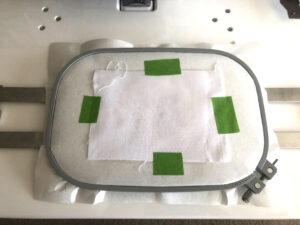
Start by hooping your stabilizer. I use a medium-weight tear away stabilizer.
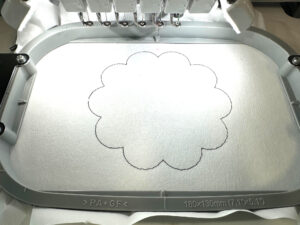
The first step of the design will be the placement stitches for your main fabric. (If you’re using foam rather than fusible fleece, run the first step, place your foam and run the first step again to tack down your foam.) For the main fabric, cut your applique piece as you normally would and cut a piece of fusible fleece the same size as your fabric. Adhere the fusible fleece to the back of the fabric following the instructions on the fusible fleece. (If using foam, don’t add the fusible fleece.)
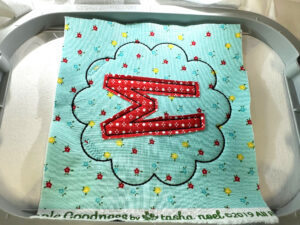
Run the second step to tack down your fabric/fusible fleece.
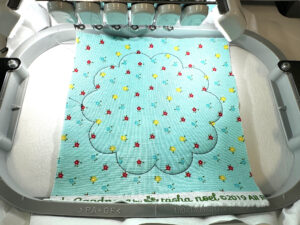
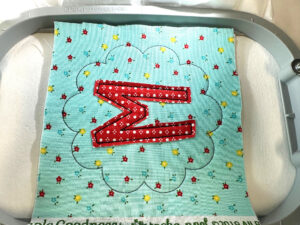
If you’re adding personalization, add it here! If this is a more detailed bunting design, run all the steps of the design as you would a regular applique design.
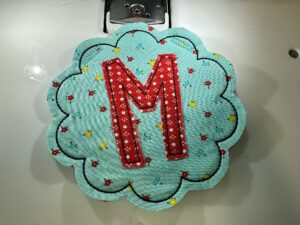
Remove the hoop from the machine, turn it over and tape down your backing piece of fabric. Make sure your tape is clear of your stitching area. You want the fabric right side facing out.
Return the hoop to the machine.
The last two steps will be the tack down (bean stitch) for the backing and the buttonholes. You may need to make sure your buttonholes don’t stitch over any fabric overhang left from the design applique pieces.
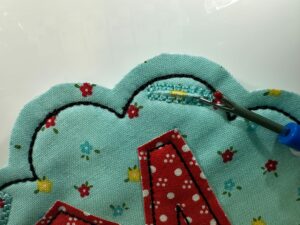
Once all stitching is complete, remove the hoop from your machine and tear away your stabilizer. Trim around the entire piece. Try using pinking shears for a vintage finish! Make sure you cut at least 1/4” away from stitches.
After cutting out the bunting piece, use a seam ripper to open the buttonholes. Be careful not to rip through the buttonhole stitches!
Run an iron over the top of your piece to adhere any Heat N Bond Lite you used for applique pieces. (If you used foam, be careful not to melt the foam!)
Your bunting piece is complete! The buttonholes can accommodate string or ribbon up to ½ inch wide.