
Bean Stitch Tag Tutorial
Bean Stitch Tag Tutorial
(Using foam)

This tutorial will walk you through how I like to make my bean stitch tags with foam. Using foam really helps stabilize the tag and makes for a more professional result. This tutorial provides instructions for in the hoop bean stitch tags purchased from Hug A Bug Applique.
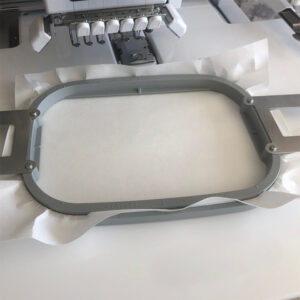
Start by hooping your stabilizer. I like to use a medium weight tear away stabilizer.
The first step will be the placement stitches for the foam (not shown). The second step will be the tack down stitches for the foam.
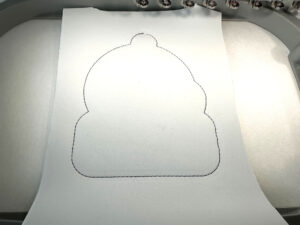
After this step, you’ll want to trim around your foam (not shown).
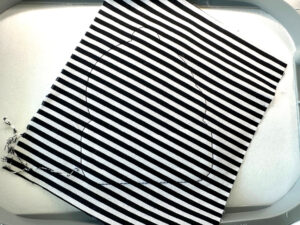
The next step will be tackdown for your main fabric piece. I use Heat N Bond Lite on all my fabric pieces.
The main part of the design will stitch (number of steps varies depending on design).
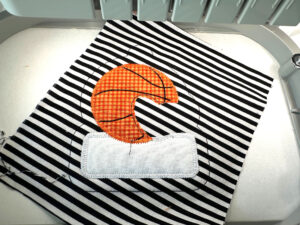
You’ll want to make sure you add your personalization here.
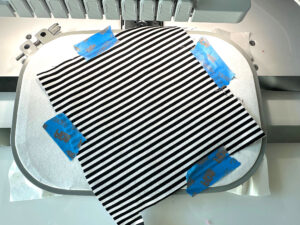
The next step will be the tackdown (bean stitch) for the backing. Make sure you place your backing fabric right side up and secure it with tape. Make sure your tape doesn’t overlap the stitching area.
The next to last step will be the stitching for the hole. You’ll want to cut the hole after this step.
The final step will be the zig zag stitching for the hole.
Remove everything from your hoop and tear away the stabilizer.
Trim carefully around your tag. I run an iron over the front and back of my tags. Be careful, the foam inside will start to melt if you apply too much heat.
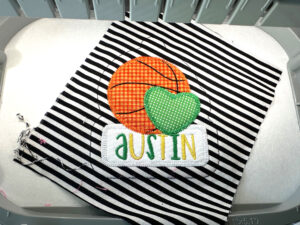
Your tag is DONE!