Round Bean Stitch Ornament Tutorial
Round Bean Stitch Ornament Tutorial
(Using foam)

This tutorial will walk you through how I like to make my round bean stitch ornaments with foam. Using foam really helps stabilize the ornament and makes for a more professional result. This tutorial provides instructions for in the hoop round bean stitch ornaments purchased from Hug A Bug Applique.
Start by hooping your stabilizer. I like to use a medium weight tear away stabilizer.
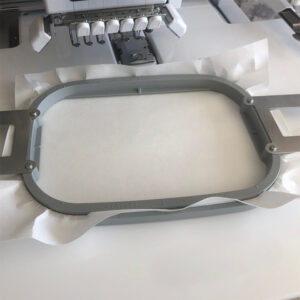
The first step will be the placement stitches for the foam (not shown). The second step will be the tack down stitches for the foam.
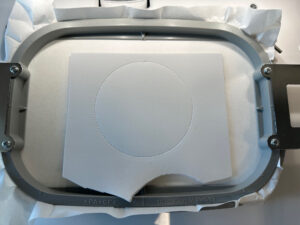
After this step, you’ll want to trim around your foam.
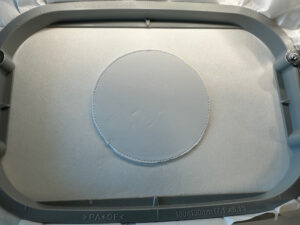
The next two steps will be placement and tack down for your fabric. You may notice the circle is a bit larger on these steps. This is so the foam gets encased by the fabric. I used linen fabric for my ornament, and I use Heat N Bond Lite on all my fabric pieces.
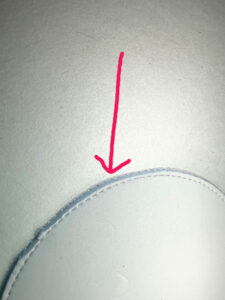
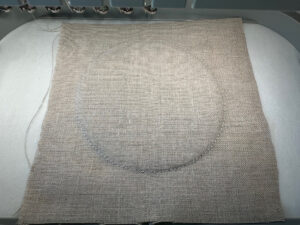
The main part of the design will stitch (number of steps varies depending on design).
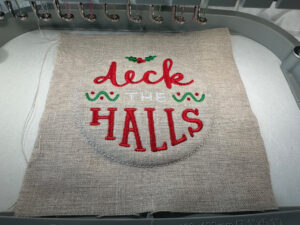
After the main details of the ornament stitch, there will be a short stitch line that runs at the top of the ornament. You’ll want to flip your hoop over and tape ribbon/string down BEFORE this step stitches. Make sure any tape is clear of the stitching area.
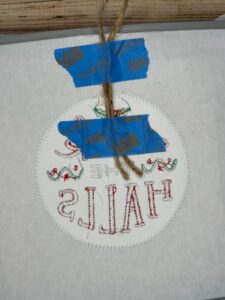
After your ribbon/string is attached, remove the tape and trim as needed. You’ll then want to place your backing fabric, right side up, and tape it into place. Again, make sure any tape is clear of the stitching area.
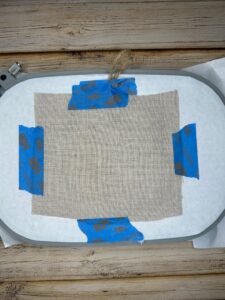
The final step will be the bean stitch outline around the ornament.
Remove everything from your hoop and tear away the stabilizer.

Trim carefully around your ornament, making sure not to snip your ribbon/string. I like to use pinking shears. They add a nice decorative effect and also help keep the ornaments from fraying. I run an iron over the front and back of my ornaments.
Your ornament is DONE!
