
Bag Tag Tutorial
BAG TAG TUTORIAL
(using foam)
There is definitely more than one way to make a bag tag. This tutorial will walk you through how I like to make my tags with foam. Using foam really helps stabilize the tag and makes for a more professional result. This tutorial provides instructions for bag tags purchased from Hug A Bug Applique.
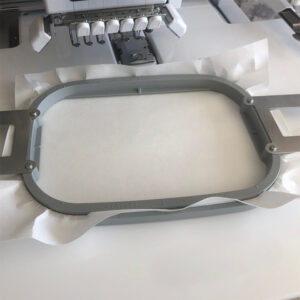
Start by hooping your stabilizer. I like to use a medium weight tear away stabilizer.
The first step will be the placement stitches for the foam (not shown). The second step will be the tack down stitches for the foam.
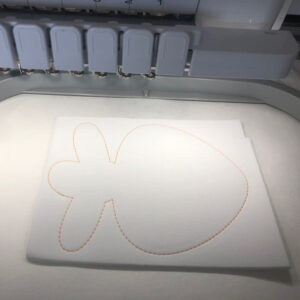
After this step, you’ll want to trim around your foam.

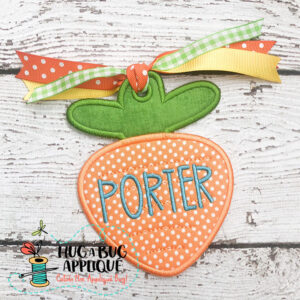
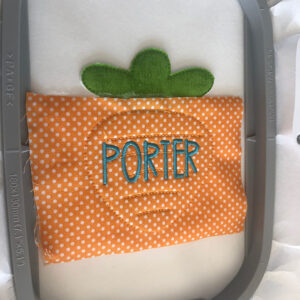
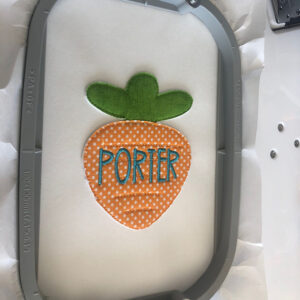
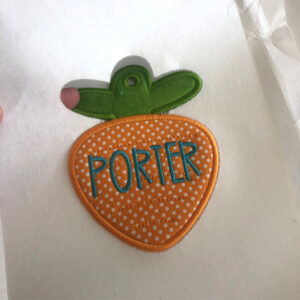
The next steps will be placement and tack down stitches for the applique fabric pieces. (If the tag you’re making only has one applique piece, this step will be the TACK DOWN for your one fabric piece. There is not a separate placement stitch for this.) You’ll want to trim after each tack down, just like you would for any applique. After all applique pieces have been added and the design details have stitched, you’ll want to add any personalization. For the carrot tag, I added the name right after the carrot details stitched.
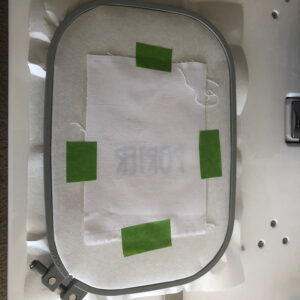
After the details of the tag stitch (and your added personalization), the next step will be tack down stitches for the BACKING FABRIC. Make sure your backing fabric is “pretty side up.” I tape my backing fabric and run this step. Also, make sure your tape is clear of your stitching area.
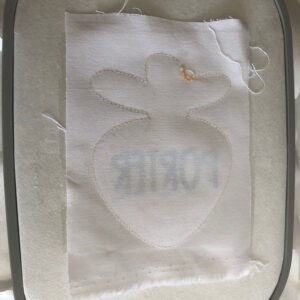
The hole will also stitch during this step (not shown). You’ll trim your backing fabric. Don’t forget to trim inside the hole too! You’ve got several layers to snip through for the hole. I tackle one layer at a time to make sure the hole stitches cleaner.
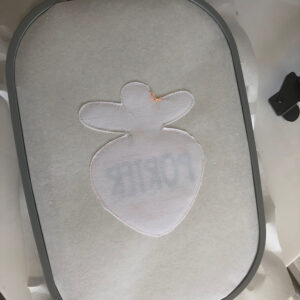
The last steps will be the satin finishing stitches for the entire design and hole.

Once the design is complete, you can remove it from the hoop. If you used a tear away, the tag should easily tear away from the stabilizer.
Once I’ve removed all the stabilizer, I like to singe the edges of the entire tag just to clean it up a bit. Go slow and be careful not to burn your tag. I am not responsible for any mishaps with the lighter. Just sayin’.
Your tag is DONE! You can add ribbon, tassels, a key ring, whatever your heart desires.

Check out all of our bag tags here: https://hugabugapplique.com/downloads/category/bag-tags/